Dryers are necessary appliances in many houses. They help us to dry out clothing swiftly and successfully, sparing us time and attempt. However, if you neglect to wash your dryer vent frequently, it can lead to severe concerns, including enhanced energy bills and also a fire danger. In this DIY quick guide, we'll present you how to cleanse your very own dryer vent carefully and efficiently.
Why You Need to have to Clean up Your Dryer Vent
Over time, dust and clutter can construct up in your dryer's vent, creating it to become clogged up. When this takes place, the airflow is restricted, which can easily lead to many issues:
- Lowered performance: A blocked dryer vent suggests that it takes a lot longer for clothing to dry out. This improves the amount of power required and ultimately leads to much higher electricity costs.
- Fire hazard: Lint is strongly combustible. If it gathers inside the clothes dryer or vent water pipes, it can easily simply kindle if exposed to high temperatures.
- Wear and tear on your clothes dryer: When your clothes dryer has a restricted air movement due to a obstructed vent, it has actually to function harder than normal. This places additional stress on the device's components, leading to enhanced wear and tear and split.
When Must You Clean up Your Dryer Vent?
It's suggested that you clean your clothing dryer vent at least once every year or much more often if you notice any of the following indicators:
- Clothes take longer than typical to dry out
- The outside of the dryer feels very hot when in make use of
- There is actually a burning odor coming coming from the clothes dryer
- Dust accumulates around the lint filter even more swiftly than standard
How To Clean Your Dryer Vent
Before you start cleaning your clothes dryer vent, produce sure that you have all of the essential tools:
- Vacuum cleanser along with a lengthy hose add-on
- Screwdriver or pierce with an extension item
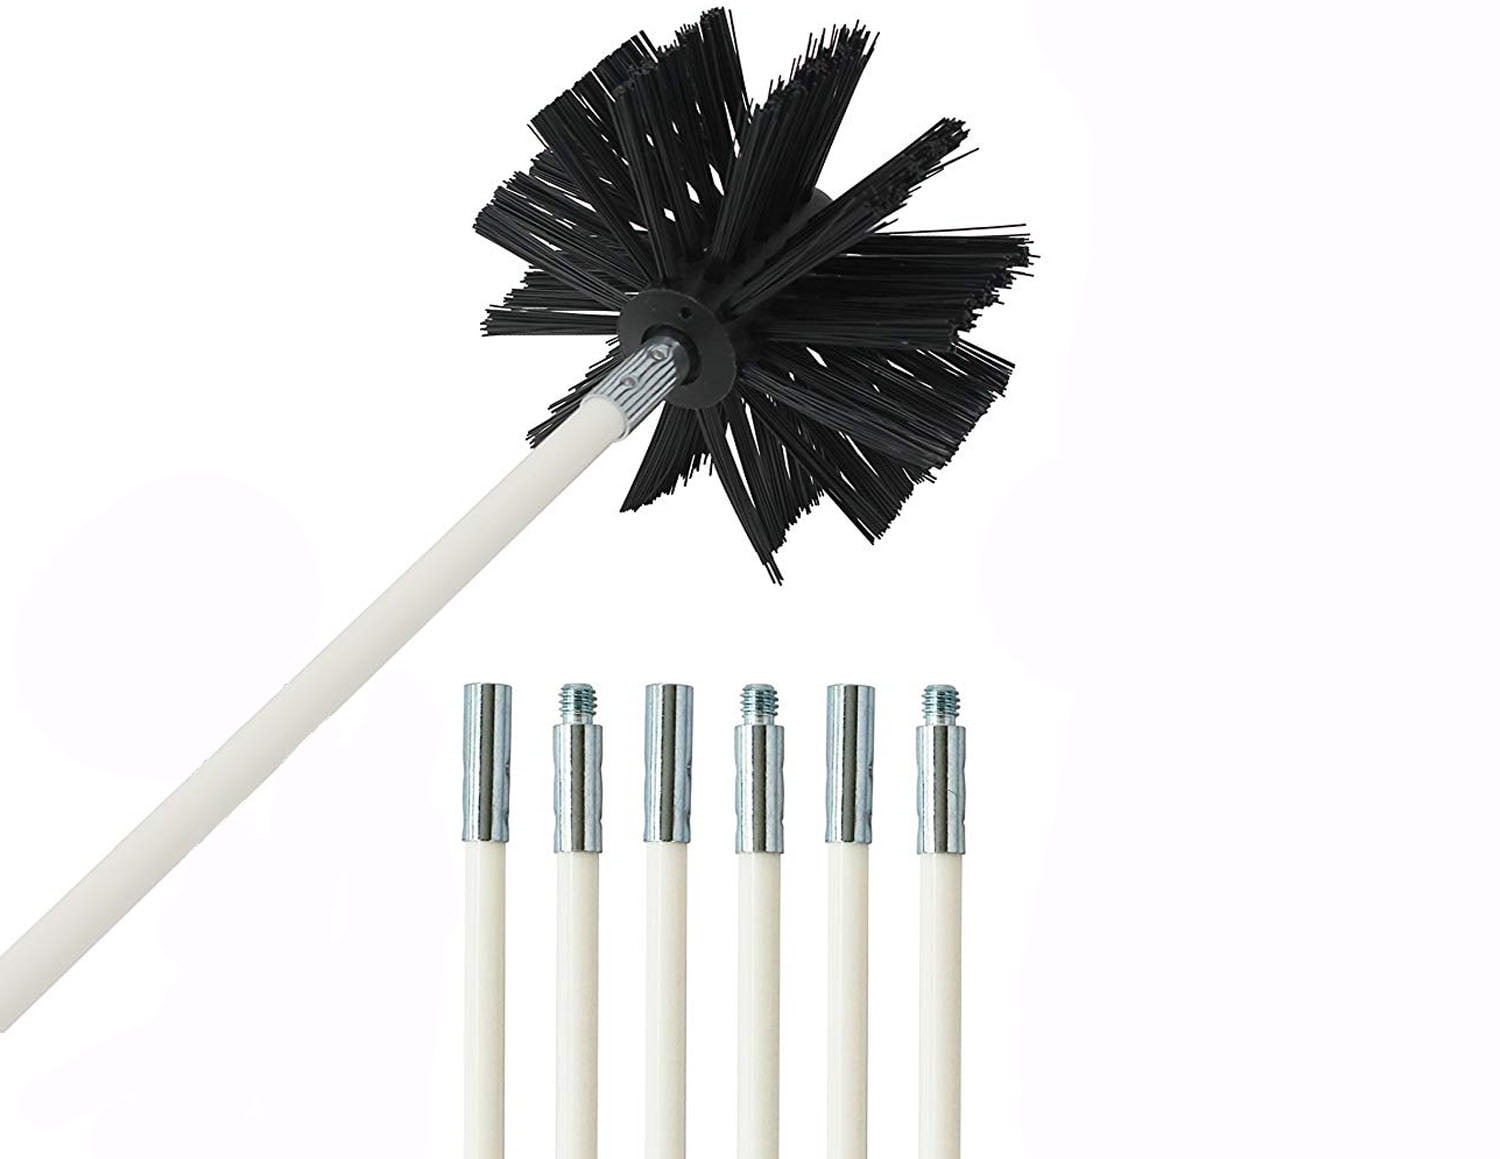
- Duct comb or cleaning package (available at most components establishments)
Step 1: Disconnect the Dryer
The very first measure is to detach your dryer coming from the power source. This includes unplugging it coming from the wall structure or transforming off the circuit breaker that manage the clothing dryer's energy supply.
Action 2: Access the Vent
Once your clothing dryer is disconnected, you'll need to access the vent. Depending on your clothes dryer's version, this might include clearing away a panel or cover. Utilize a screwdriver or bore along with an extension part to remove any type of screws that are holding the board in area.
Action 3: Clean Out Lint and Debris
Utilizing a suction cleanser with a long tube accessory, properly get rid of any type of lint and clutter that has gathered inside the vent water pipes. Be certain to also cleanse out any dust that has collected in various other components of the clothing dryer, such as around the dust filter.
Measure 4: Make use of a Duct Brush or Cleaning Kit
For even more obstinate buildup, utilize a duct brush or cleansing set primarily created for cleaning clothing dryer vents. These resources can assist loosen and remove stuck-on particles extra effectively than only using a suction cleanser.
Action 5: Reconnect Your Clothing dryer
Once you've finished cleaning out your dryer vent, it's opportunity to reconnect your clothing dryer. Substitute any kind of doors that you removed previously and create sure everything is tightly attached before plugging it back in or transforming on the circuit buster.
Final thought
Cleaning you